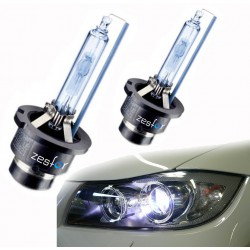
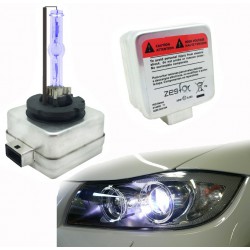
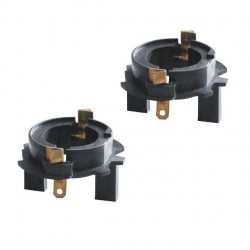
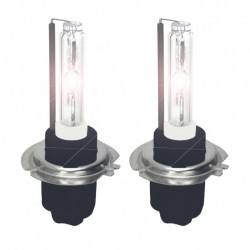
Control unit xenon original brand ZesfOr® for the headlights of the car. It replaces the original ecu for this. Only works if the pbx of your xenon has broken down and is not turned on (not the bulb). To know what model we need, we only need to look at the reference of the bulb: D1S, D3S, D2S or D2R.
Control unit xenon original headlight of the car. It replaces the original ecu for this. Only works if the pbx of your xenon has been damaged. We remind you that a xenon original is formed by the following parts:
- Control unit for xenon
- Bulb
- Primer or switchboard secondary (this part is carried only a few vehicles, as the majority put it all integrated into the ecu)
To know if we have broken a bulb or the ecu will do the following test: remove the headlight bulb that does NOT work. We will put it in the headlight IF it works. If the bulb still does not work then you have to change the bulb. If the bulb IF it works then we will have to change the ecu.
To know what model of ecu xenon original we need we only have to look at the reference of the bulb. There are 4 major references: D1S, D3S, D2S or D2R being D2S and D2R are compatible with each other. D3S we don't have available at the moment.
How do you replace the ecu with a xenon original?
The process is not difficult but you must have knowledge of electro-mechanical so if you're not a handyman's best not to touch it, take it to a shop and they will do so. Typically charge one or two hours of mounting as much.
To begin with we will disassemble the whole headlamp to be able to work well. Then we'll see if our beacon leads to switchboard or switchboard + primer or two ecus. We will remove everything and connect the positive and negative of our new ecu to the wires that we left loose when you remove the old (positive and negative). Then connect the other end of the exchange you are new to the xenon bulb. To verify that everything works correctly before you install the lighthouse, you can give power to 12 volts to the positive and negative above. DO NOT TOUCH THE XENON BULB OR THE ECU IF WE GIVE IT POWER. Once seen you turn on the light bulb very careful with touching it, letting it cool prior to handling.
Once you have verified that everything works properly, we set the beacon in place and ready. If we had any problem of flashing or flashes, the ideal would be to also change the bulbs to xenon original as some old can do weird things to change the ecu.
The process is not difficult but depending on the car you can do long because on some vehicles to remove the headlight it is necessary to pick up or remove the bumper.
IMPORTANT NOTE:
The ecu xenon original will NOT have the same shape nor size as that of the series of the car. This is so it is made the same by a multitude of vehicles and therefore the shapes do not match. If you want the ecu with the same shape and size it is recommended to see the official house where you sold a for 200-400€.
You might also like
Customer Questions and Answers


